Tutorial
In this tutorial we will look step by step how to create a new package using alpa-cli.
First steps
Set up your cli config described in CLI setup. I already set up my ~/.config/alpa.yaml
file as follows:
---
api_keys:
  - repo:
      name: tutorial
      key: my-secret-key
Clone your repository via alpa-cli and then use alpa create <package name> command:
[nikromen tmp]$ alpa clone git@github.com:nikromen/tutorial.git
Cloning into '/tmp/tutorial'...
remote: Enumerating objects: 6, done.
remote: Counting objects: 100% (6/6), done.
remote: Compressing objects: 100% (5/5), done.
remote: Total 6 (delta 0), reused 1 (delta 0), pack-reused 0
Receiving objects: 100% (6/6), done.
[nikromen tmp]$ cd tutorial
[nikromen tutorial] (main)$ alpa create alpa
Package alpa created
[nikromen tutorial] (alpa)$
In this case, we will create package containing alpa package obtainable from PyPI
under URL https://pypi.org/project/pyalpa/. Note that name of package on PyPI is
different than on GitHub (pyalpa vs alpa).
Fill in metadata and spec file
Now it’s time to fill in the package metadata and create a spec file.
I placed into git root metadata.yaml and alpa.spec files. Theirs content is as follows:
metadata.yaml:
---
maintainers:
  - user:
      nick: your-gh-nickname
      email: your-email

targets:
  - fedora-37
  - fedora-38
  - fedora-rawhide
alpa.spec:
Note
Note that in Source0 the name pyalpa is used instead of alpa.
%global pypi_name pyalpa


Name:           alpa
Version:        0.1.0
Release:        1%{?dist}
Summary:        Integration tool with Alpa repository

License:        GPLv3
URL:            https://github.com/alpa-team/%{name}
Source0:        %{pypi_source %{pypi_name}}

BuildArch:      noarch

BuildRequires:  python3-devel
BuildRequires:  pyproject-rpm-macros
BuildRequires:  python3-click
BuildRequires:  python3-pygithub
BuildRequires:  python3-specfile

Requires:       mock


%description
%{summary}


%prep
%autosetup -n %{pypi_name}-%{version}


%generate_buildrequires
%pyproject_buildrequires -r


%build
%pyproject_wheel


%install
%pyproject_install
%pyproject_save_files %{name}


%files -n %{name} -f %{pyproject_files}
%license LICENSE
%doc README.md
%{_bindir}/%{name}


%changelog
* Sat Mar 04 2023 Jiri Kyjovsky <j1.kyjovsky@gmail.com>
- Initial package 0.1.0
Test your changes locally
If you are on an RPM-based system, you can use the alpa mockbuild command to build the
local package in a separate environment using the mock tool. This way you can react faster
to any errors:
[nikromen tutorial] (alpa)$ alpa mockbuild
Executing command mock -r fedora-38-x86_64 --buildsrpm --spec alpa.spec --sources pyalpa-0.8.0.tar.gz --resultdir /tmp/tutorial/mock_results/srpm/fedora-38-x86_64
INFO: mock.py version 3.5 starting (python version = 3.11.2, NVR = mock-3.5-1.fc37)...
Start(bootstrap): init plugins
INFO: selinux enabled
Finish(bootstrap): init plugins
Start: init plugins
INFO: selinux enabled
Finish: init plugins
INFO: Signal handler active
Start: run
INFO: Start(alpa.spec)  Config(fedora-38-x86_64)
Start: clean chroot
Finish: clean chroot
Start(bootstrap): chroot init
INFO: calling preinit hooks
...
Finish: rpmbuild alpa-0.8.0-1.fc38.src.rpm
Finish: build phase for alpa-0.8.0-1.fc38.src.rpm
INFO: Done(/tmp/tutorial/mock_results/srpm/fedora-38-x86_64/alpa-0.8.0-1.fc38.src.rpm) Config(fedora-38-x86_64) 0 minutes 21 seconds
INFO: Results and/or logs in: /tmp/tutorial/mock_results/build_results/fedora-38-x86_64
INFO: Cleaning up build root ('cleanup_on_success=True')
Start: clean chroot
Finish: clean chroot
Finish: run
Push your changes
Now it’s time to add your changes to git history and open a pull request on GitHub. Alpa-cli provides commands for this as well:
alpa addadds desired files so they can be committed. Don’t worry about the “feature branch” thing. Alpa just makes sure you are in the correct branches since branches handling is the responsibility of alpa-cli, not the user.alpa commitcommits these previously added filesalpa pushpushes these commits. If you are pushing for the first time and you want to create pull request with it, use-pflag. This will create pull-request for you.
Showcase:
[nikromen tutorial] (alpa)$ alpa add "alpa.spec metadata.yaml"
Switching to feature branch
[nikromen tutorial] (__feat_alpa)$ alpa commit -m "adding data for package alpa"
check for added large files................................................Passed
check for broken symlinks..............................(no files to check)Skipped
check yaml.................................................................Passed
detect destroyed symlinks..................................................Passed
detect private key.........................................................Passed
fix end of files...........................................................Passed
mixed line ending..........................................................Passed
don't commit to branch.....................................................Passed
trim trailing whitespace...................................................Passed
Check if all necessary files are present in repo...........................Passed
Check Packit configuration file............................................Passed
Check if version is propagated via macros to source0.......................Passed
Switching to feature branch
[nikromen tutorial] (__feat_alpa)$ alpa push -p
PR#1 created. URL: https://github.com/nikromen/tutorial/pull/1
[nikromen tutorial] (__feat_alpa)$
Note
Don’t worry about the .packit.yaml file. Even though you can create it via
alpa create-packit-config in case of emergency, alpa-cli creates, adds and
commits the .packit.yaml file for you.
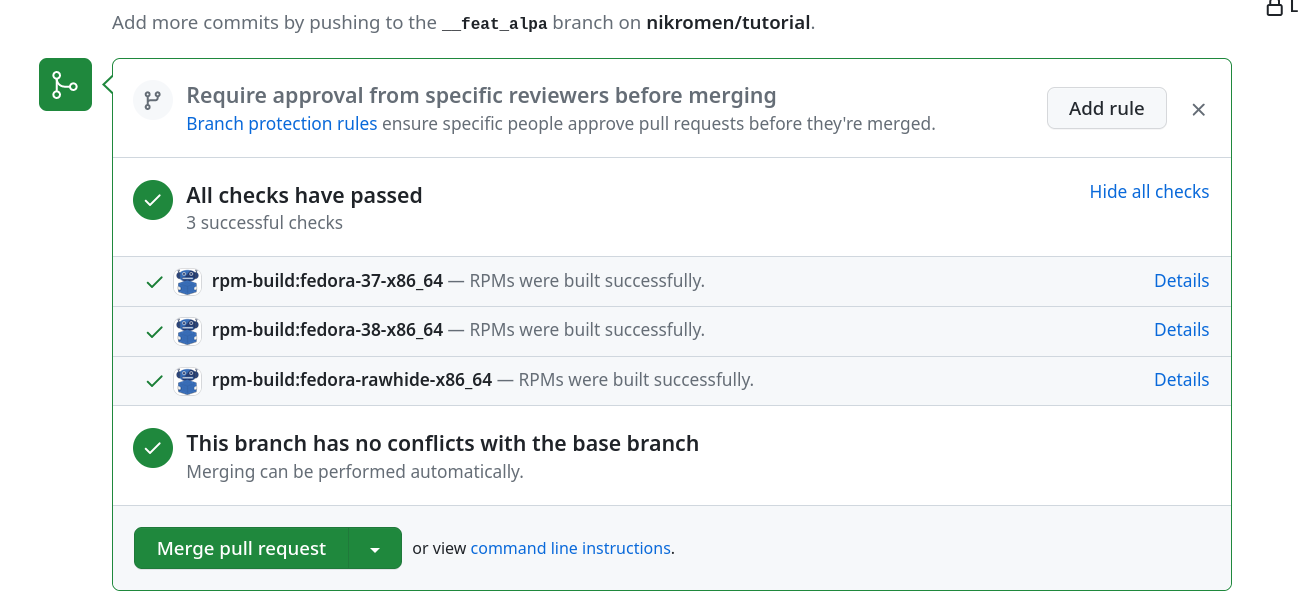
Now go to the URL alpa-cli provided to you. You will find a PR with some running checks. Wait for them to finish. If they fail, try to fix them - Pull Requests are created so you can repair your failed builds before pushing it to official repository.
Important
If this is first time you creating a package in repository, GitHub Check will fail. If it’s the case, visit Error in Pull Request section.
Merge the PR
Once all builds have passed it’s time to merge pull request. This triggers the next action, where the packages are built in the correct Copr repository, from where you can install them.
Enjoy
After merging the pull request you can install your packages as follows:
$ dnf copr enable <copr-owner>/<copr-repository>
$ dnf install <the-package-you-just-built>
Important
If this is first time you creating a package in repository… again, the push event will fail. If it’s the case, visit Error in package branch section.